


You've faced this scenario before - you installed Bubble's Stripe plugin and managed to set up a charge for your first customer.
Then, you realize you need more functionalities and try to install other Stripe plugins in the marketplace. Quickly, you realize that the other plugins out there are a mess and documentation is sparse or behind a paywall.
Even when you find the function you need, it is not set up the way you need it, wasting your precious time.

Setting up the API connector for Stripe
Thanks to improvements in Stripe API, it is now very easy to customise every step via Stripe API connector to add in any function you want. In fact, I use it hand in hand with Bubble's Stripe plugin.
Let's go through the basics of setting up the API connector:
First, install the 'API Connector' plugin in the Bubble Plugin Marketplace.
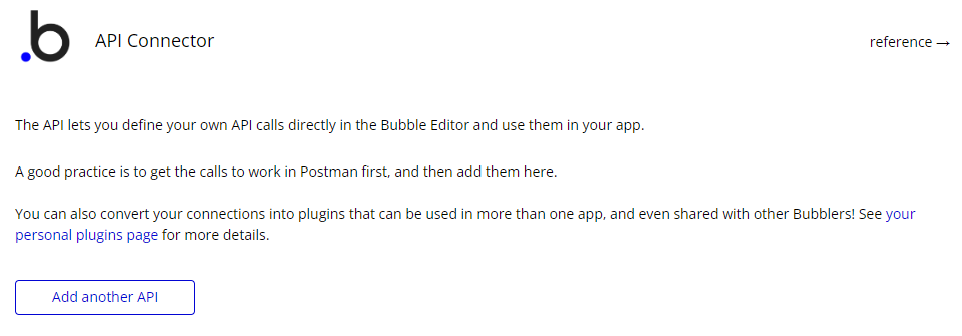
Next, click 'Add another API'.
Follow the settings here to add your keys. Note that your live key should be in 'Key value' and your development key should be in 'Development key value'. Include 'Bearer' as well.

Adding Stripe API calls
Now, let's try adding two simple calls - a 'GET' and a 'POST' request. Enter the Stripe API reference:

Once you've familiarised with the reference, let's try creating 2 calls:
Adding a Customer - POST request
Following the reference, create the call with the following values below:
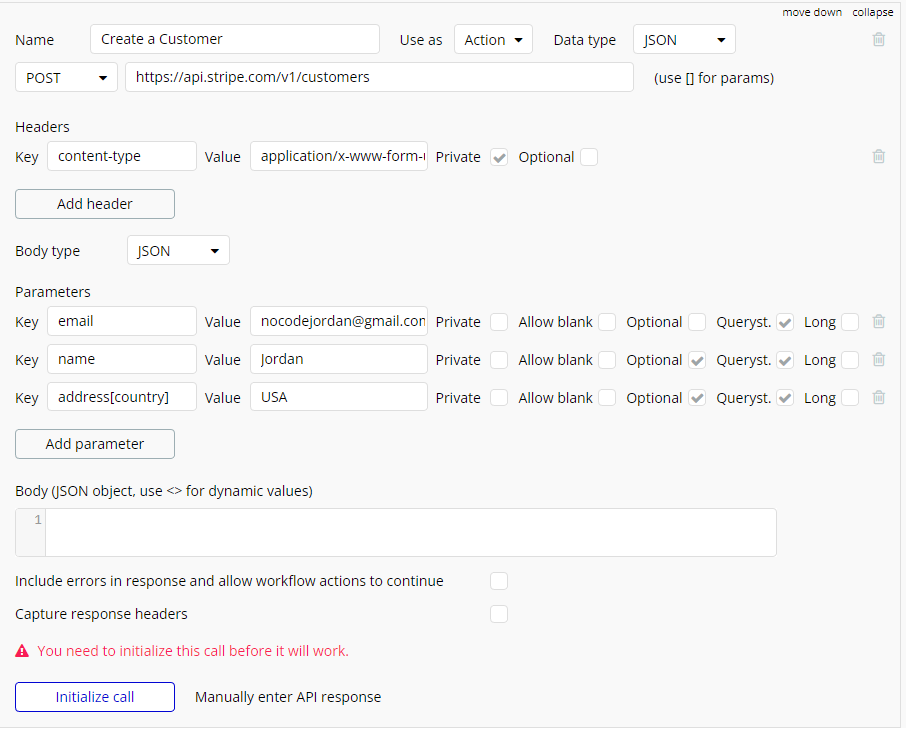
Note a few things here:
- Make sure to set the content-type header to "application/x-www-form-urlencoded"
- Make sure to uncheck 'private' for parameters that are required to be changed in the front-end.
- Check 'Queryst.' for all text inputs.
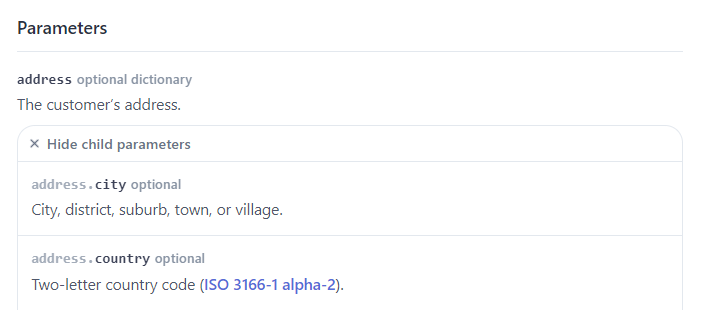
- For parameters that require child parameters, use the square brackets [] to specify the child parameters.
After clicking 'Initialize call', you will see the following JSON below(click show raw data).
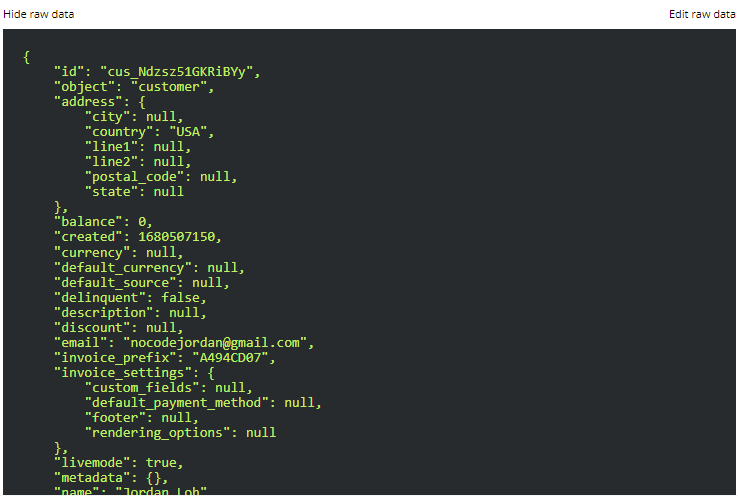
Note that you can change the data types of every input received. For UNIX dates, Bubble auto-detects them as a number so you can change to 'date (UNIX)' if you are storing/using that field.

And you're done! Now let's view the customer that we just created, along with any others.
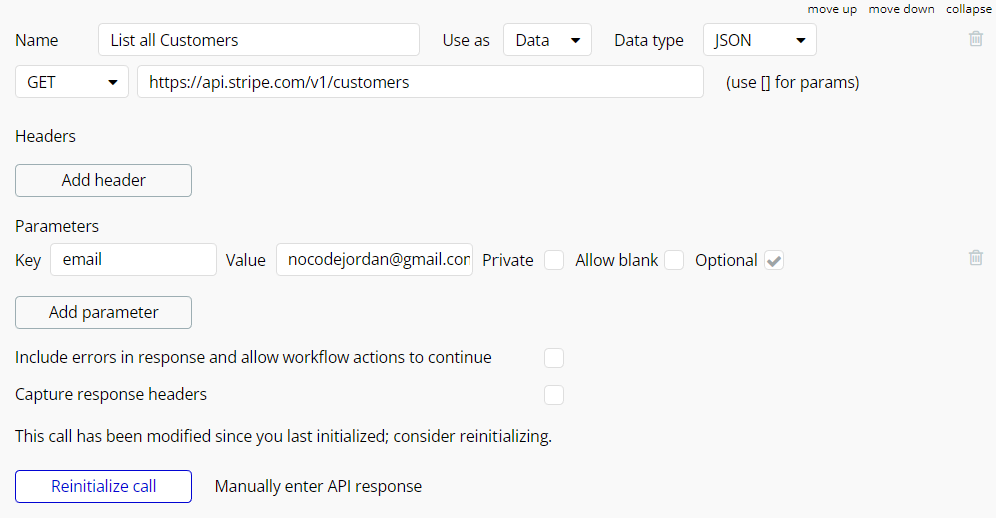
List all Customers - GET request
Following the List all customers function, input the values below. GET functions are much more straightforwad to set up 😁
There you go! GET and POST requests form most of the calls that you need from Stripe, but occasionally, you will require PATCH requests as well. PATCH is similar to POST, but if you face errors, don't hesitate to post your question below or reach out!
Question for you
If I created a template that had all Stripe API functions set up in the API connector, would you be willing to pay for it?
It would have a recommended flow for how to set up a Stripe payment/connect process as well. Let me know your thoughts below!


Member discussion